Important Update
I got a really interesting comment on the YouTube Talk Box instructional video from Tony Carl.
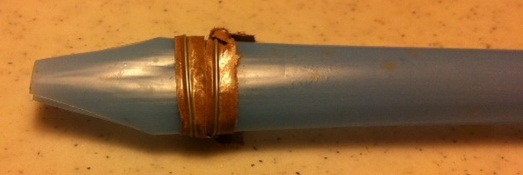
"I found that wrapping a garbage bag wire tie around the base of the reed makes it easier to adjust the reed opening. Just lightly squeeze the wire at the top and bottom close the opening a little or at the sides to open a little. A piece of tape wrapped around the wire to keep the ends of the wire from puncturing the balloon :)"
Tony based this innovation on the construction of crumhorn and bassoon reeds.
I found the twisty technique to be very helpful and I think it will help other people having trouble adjusting the reeds. Even sliding the wire a little forward or backward on the straw had an adjusting effect. If I squeeze it too hard shut, I can also push a pencil in to open it a little (in addition to squeezing the sides, as Tony recommends).
Short Summary of the Instructional Video
Introduction


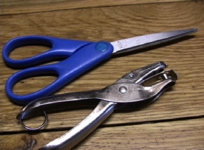
The instructional video starts with an introduction about how I got interested in reed instruments when I was living in Bangladesh, country in South Asia. This is a great project to make with groups of kids. It only takes a straw and scissors; a hole punch--and earplugs--are optional. I named various reed instruments, but I make the case that even our vocal chords act like reed instruments: rushing air causes them to vibrate and create sound. You can feel it when you talk and touch your throat
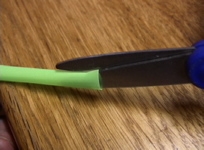
Flattening the end of the Straw


The first step in the instructions is to flatten the end of a straw with your teeth. It can be a little challenging when you don't have front teeth! But do the best you can.
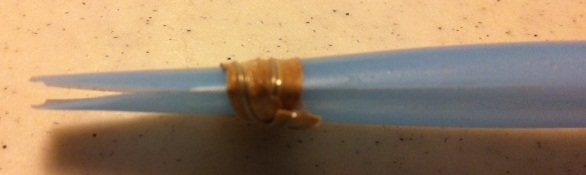
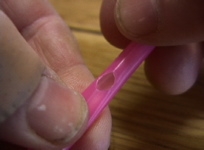
Cutting the flaps
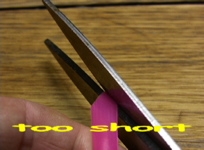
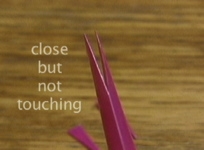
Then you cut small flaps on the end of the straw. They should be close but not touching.
Testing
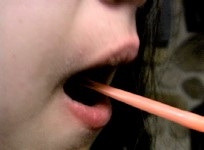


It's time to test out the reeds. You have to get the reeds in past your lips and teeth so they are free to vibrate. Also, you can't crush the straw or the air will not be able to get through. Then blow through the instrument. It is also possible to draw air in the other end and actually see and feel the reeds moving. You can get some change in pitch by blowing harder or softer, but to get enough range to play a tune you have to modify the insrument.
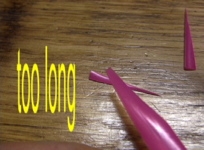
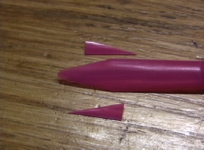
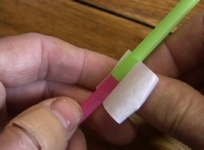
Changing Pitch


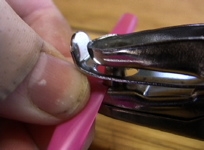

There is a funny demonstration where you cut the straw shorter and it keeps getting higher in pitch. And the easiest way to get enough pitch range to play a tune is use another straw to make a slide--like a trombone. The other way is make finger holes with a paper punch.
Experimenting


There are some other things you can do with your reed instrument. You can get low notes from it by taping on more straws so it's longer. You can even make it "talk," sort of. After all, we create vibration in our throats, then modify the sound by what we do with our mouths. You can kind of do that with with your reed instrument and your hands.